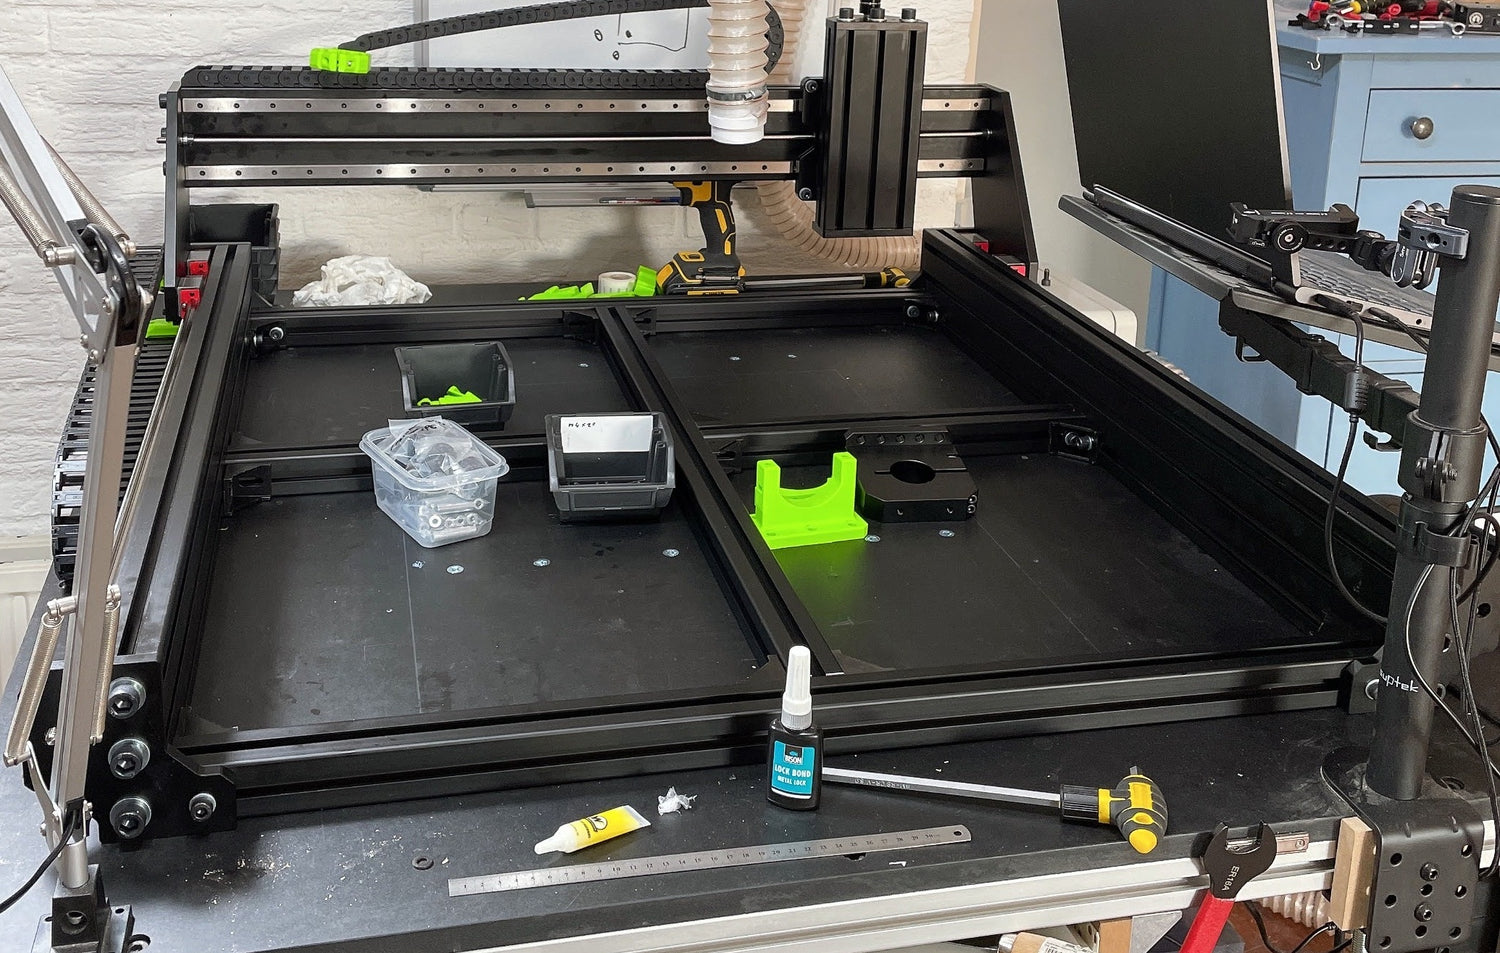
Mounting your RatRig Stronghold
Building your RatRig Stronghold is a big job. Not only a large amount of parts; it is also a precise job. A collection of what you need at least in tools and can encounter when building your Stronghold.
Before you start
Take your time
Haste makes waste. It is more important to do it right than to do it fast. Make sure you have the Build Guide on a laptop nearby so you can read everything carefully.
Ask for Help
Two are better than one.
This applies in many areas. The entire package consists of many bolts, nuts and extrusions. That is a lot of work, but also quickly a considerable weight.
Can't figure it out on your own? Feel free to ask. If I can travel, I can come and help set up.
Measuring is knowing
Make sure everything is square and runs smoothly where necessary. If you don't do this right now, you will have problems later that can only be solved by taking it apart again.
Is something not going smoothly or is it sticking? Don't try to force it, but first check whether you have actually done it right and whether a bolt is not secretly crooked.
Solid is solid
Everything must be tight, especially the bolts. It is wise to secure them with loctite, so that they do not vibrate loose. With moving parts (especially the leadscrews) it is important that they are not TOO tight; it must continue to run smoothly
Be careful with electronics
It is certainly very important with electronics that you do it right. A wrong connection can cause major problems, and you don't want your new spindle, motor or controller to burn out. So make sure you pay close attention to color coding and any deviations. Also measure everything carefully. In the event of a short circuit due to incorrect installation, you unfortunately have no guarantee.
Can't figure it out on your own? Feel free to ask. If I can travel, I can come and help set up.
Other than the manual
There are some things I did differently than the manual. I might pay special attention to this later, but here is a brief explanation.
- I did not mount the cross that is in the middle of the machine and secured the machine (after checking the square) with the corner pieces to/through the table with bolts. This gives you 40mm extra Z height and you can secure your spoilboard with strips on your table instead of them floating on the cross.
- I have reversed the Y Drag Chain. I have done this by extending the mounts (available in the BASt shop). This allows the cables to be routed forward instead of backwards and my controller box at the front of my machine remains easily accessible.
Important tools
The quality of your build depends partly on yourself, but certainly also on the right tools. Below you will find tools that you will definitely need when building and adjusting your CNC machine.
Price indication: €28,00 EUR
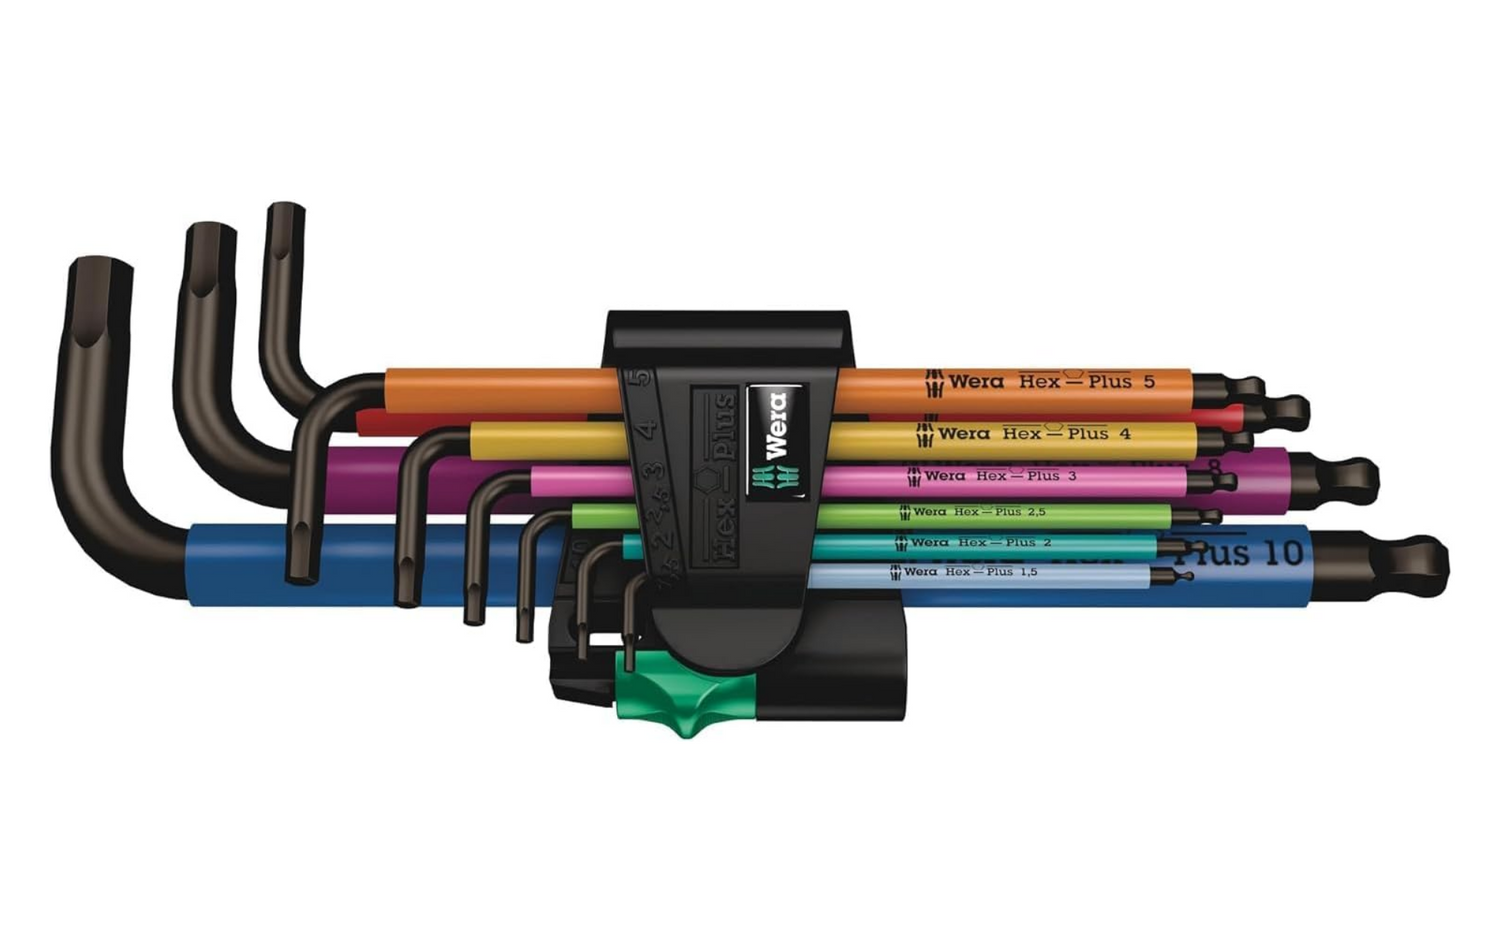
WERA Hex / angle wrench set Metric
The entire machine is assembled with Allen bolts and nuts.
Do yourself a favor and make sure you do this with a good allen set. You have to tighten everything up properly and then you absolutely want to avoid breaking the allen key or a bolt. This set from WERA is known for its quality. You can also choose the Hex-Plus HF here, there is a small ball in the end, so that the bolts stay in place easily.

Price indication: €6,95 EUR
Loctite / Screw threadlocking
A CNC machine is subjected to considerable forces and vibrations. This makes it essential that your nuts and bolts remain tight. This is even more true for the many small M3 nuts on the linear rails. If one of these comes loose, you have a major challenge and the chance of permanent damage to your machine.
It is therefore wise to provide all bolts with a drop of threadlocker. This here is another brand, but just as good and many times cheaper.
Price indication: €10,00 EUR
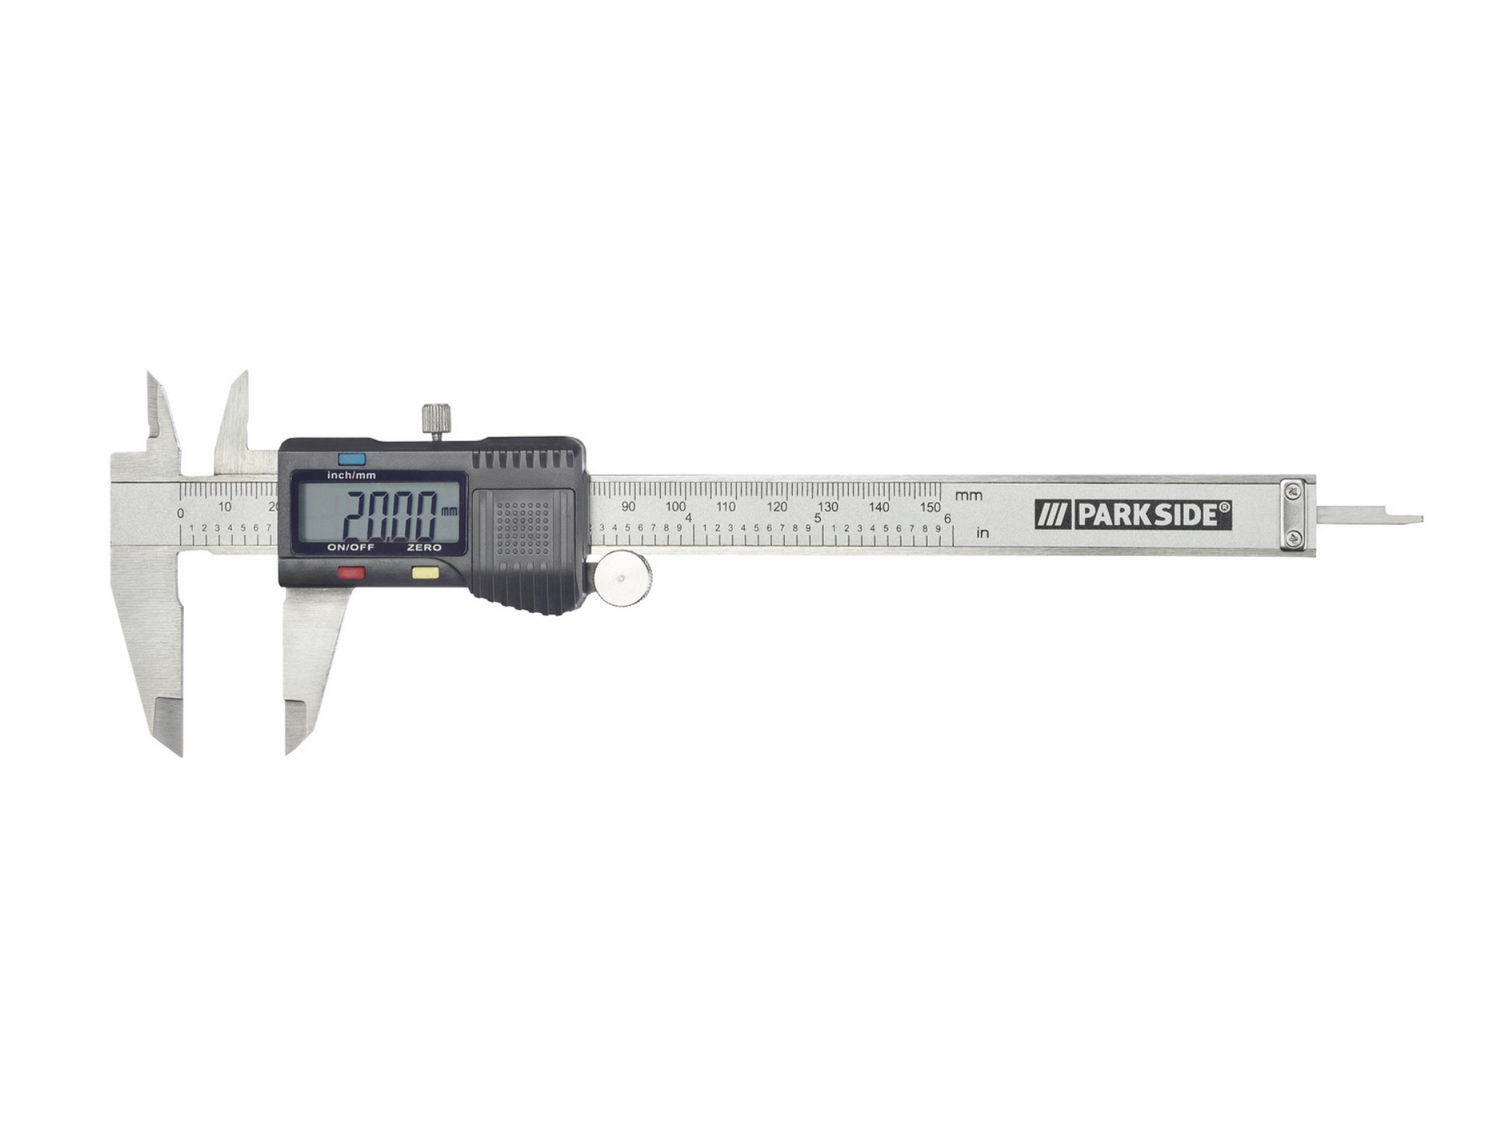
Digital caliper
As with any measuring tool, these also come in many different price ranges and qualities. This one from Parkside (Lidl) is extremely suitable, certainly as long as we are not working under laboratory conditions. There is also a more expensive version, but I only see the difference in color. The other one says that it switches off automatically, but mine does that too. I can definitely advise against the one from Action (same price)!
Regularly available on the website with a 50% discount!
Price indication: €24,00 EUR
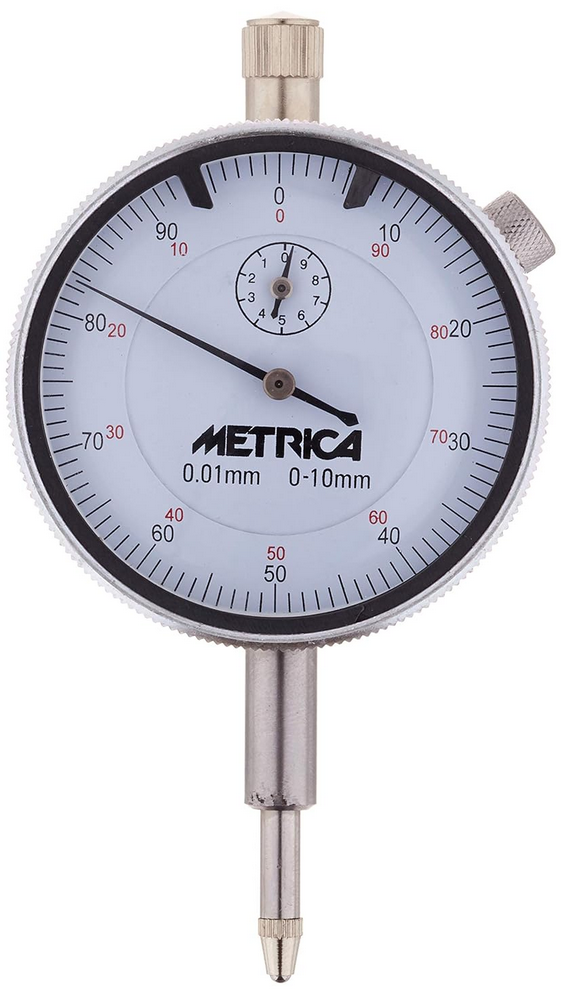
Analog Dial Indicator / Dial Gauge
The digital version is nice and precise, but for fluctuations between two extremes an analog dial gauge is a bit clearer. For measuring instruments the prices vary from 2 euros to over 5000 euros goThis one from Metrica
Price indication: €28,00 EUR
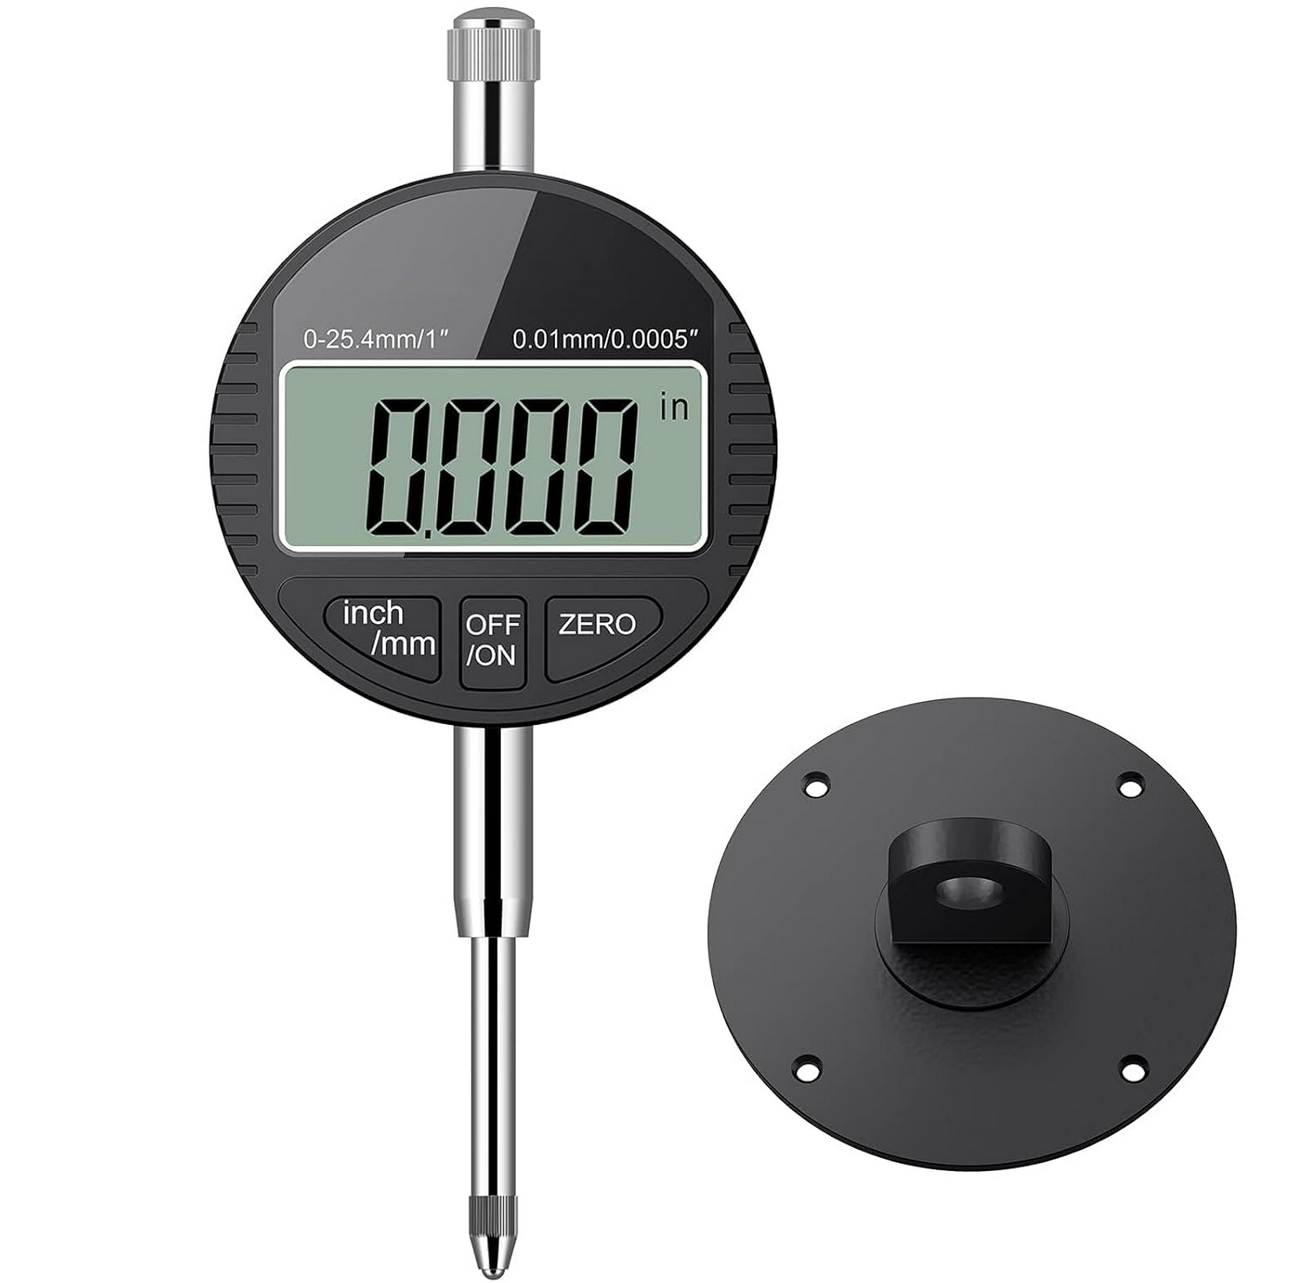
Digital Dial Indicator / Dial Gauge
A dial gauge is necessary, but you can decide for yourself whether you want the digital or the analog one.
I like working with digital ones, but I would also like to read about the advantages of analogue ones.
The only disadvantage of this dial gauge is that it does not turn off automatically! Buy extra SR44 or LR44 batteries so you don't run out. (Tip: LR is cheaper, SR lasts longer)
Price indication: €30,00 EUR
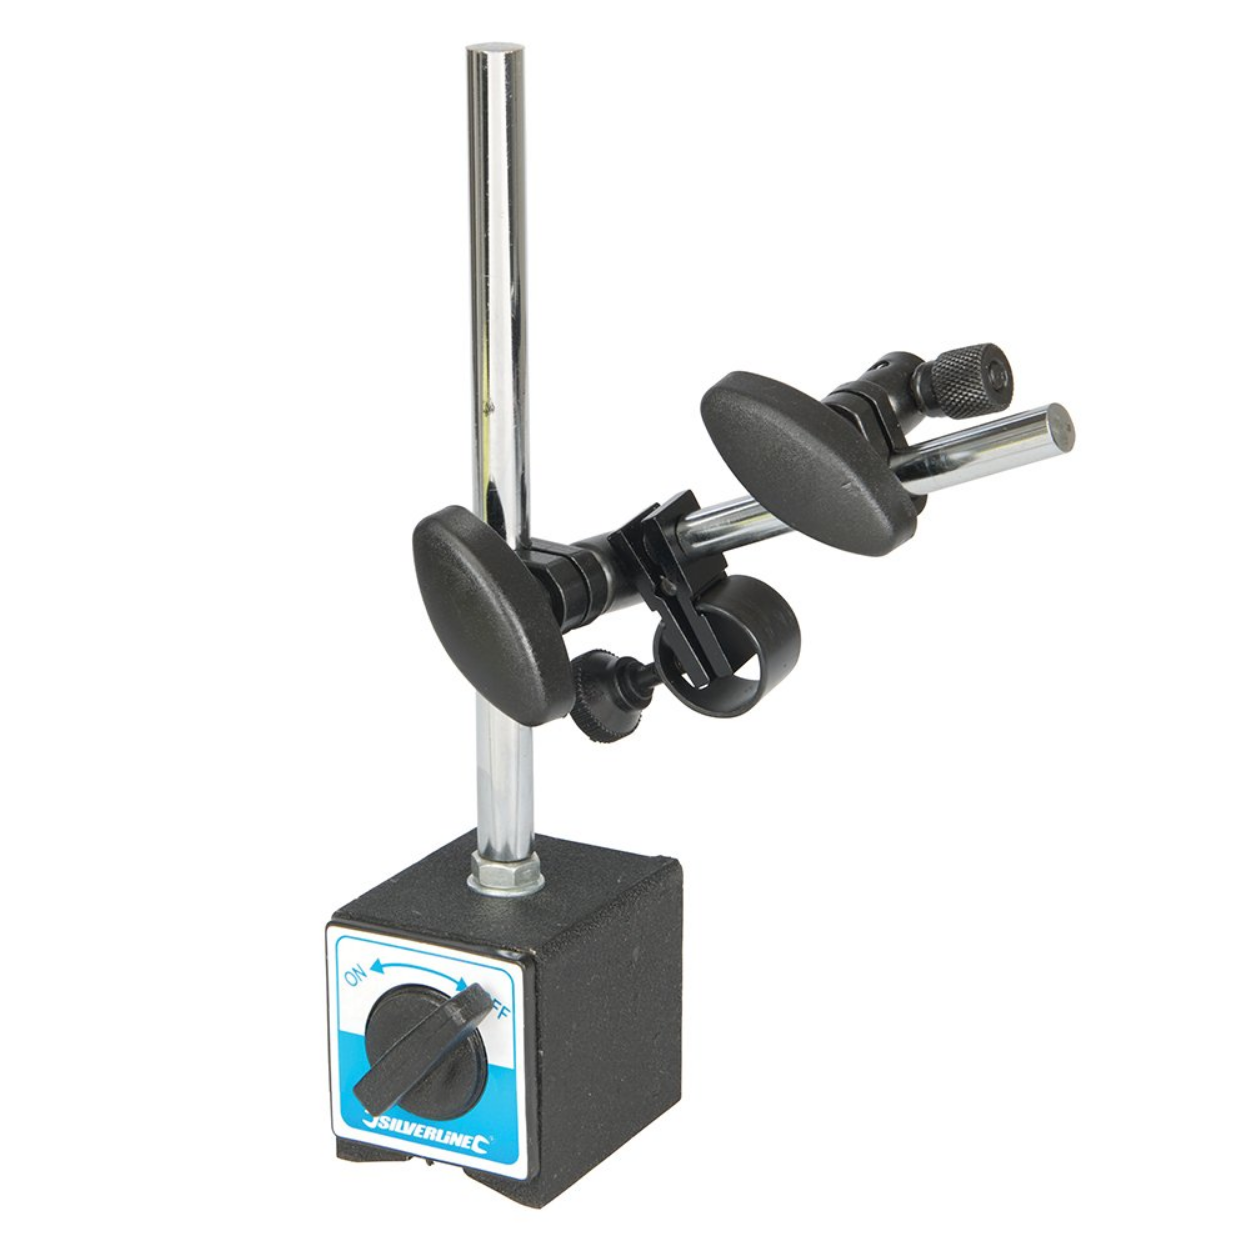
Dial gauge holder / measuring stand
Dial gauge holders are also available in various prices and qualities.
This holder is used to place the dial gauge against something to then measure. Perfect to check whether you have mounted the linear rails of your cnc correctly.
The system where everything is operated with 1 button is cheaper, but I find it inconvenient to use
Price indication: €25,00 EUR
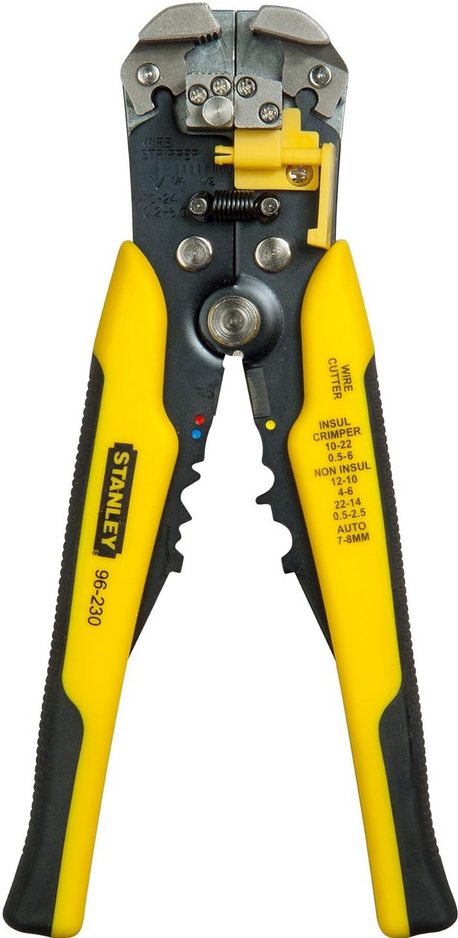
STANLEY FATMAX FMHT0-96230 Automatic Wire Stripper
To connect the wires (and then crimp them) you first have to strip them of course. I used to do that with a pair of pliers, but since I started using this stripper I don't want to do anything else. No more hassle with half-cut wires, or pulling out the internals; just clamp and strip in 1 movement. Please note; it only strips 1 wire at a time (so don't strip neutral, earth AND phase at the same time)
Price indication: €35,00 EUR
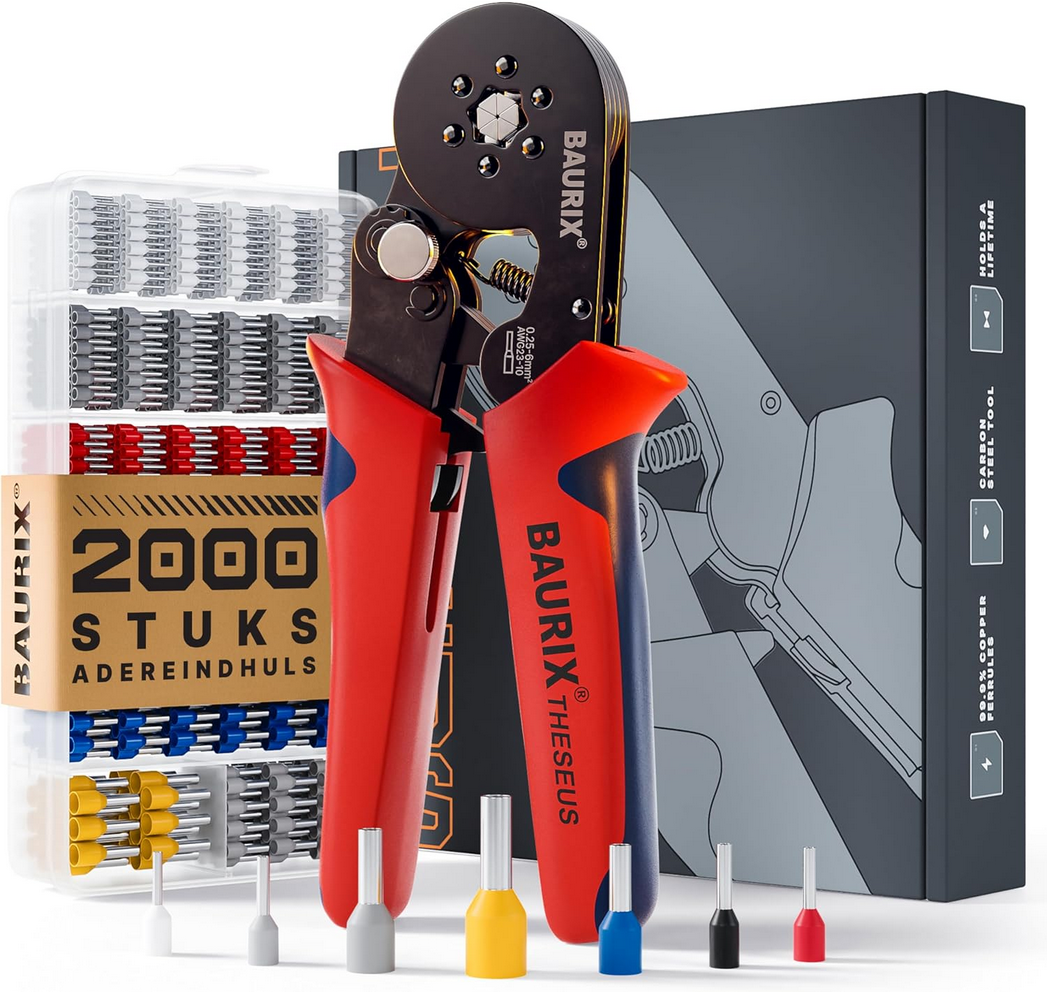
BAURIX® Crimping Pliers Hexagon Theseus
It is wise to crimp all your cables (not just for CNC) with end sleeves before you plug or screw them in somewhere. This will give you a much better connection, you will not get loose wires that accidentally end up in another pole and certainly when screwing and unscrewing more often, they will stay neater.
This Baurix Crimping Tool with Wire End Sleeves in various sizes, is excellent value for money both in terms of price and build quality. Make sure you choose the Theseus.
Price indication: €25,00 EUR
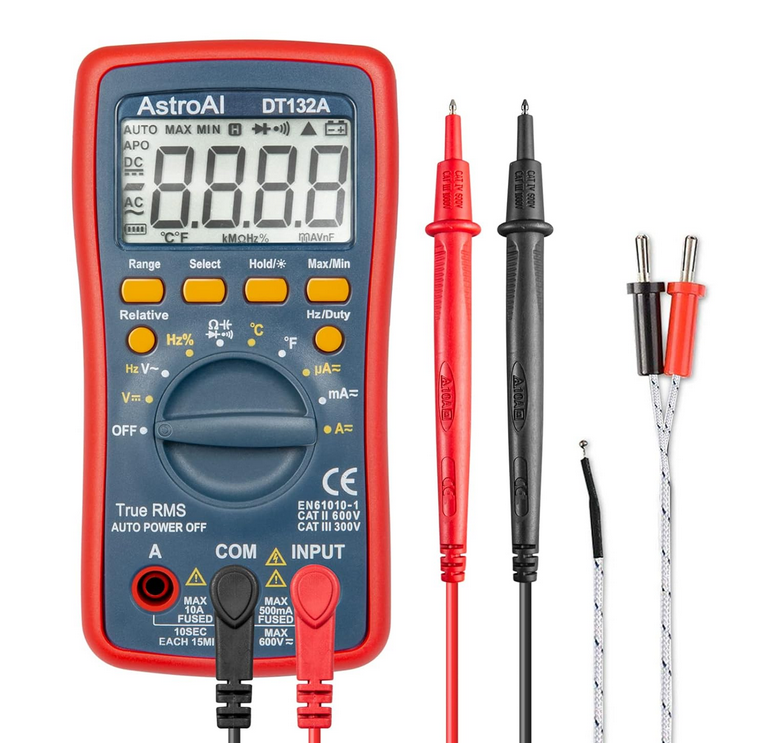
Multimeter
A multimeter is necessary to make sure everything is connected properly. In addition, you must adjust the 0-10v on your Blackbox X32 to give exactly 10V at the highest speed. (or 9V in case of the AMB spindle, which gives the highest speed at 9V)
Literally the one I have is no longer for sale, but you can get a decent one for €25
Disclaimer
- All references are written on my own initiative and are my own opinion.
- As always, your own common sense applies when purchasing referenced items and my
opinion just one of many opinions. - When this article refers to Amazon, these are affiliate links.
- If you place an order via such links, I will receive compensation for this, without it costing you a cent extra. Any discounts will also continue to apply to you.
- Other links are provided without compensation.
- I do not have any personally identifiable information about placed orders and cannot provide support on this.
- This list is in no way affiliated with the mentioned producers, sales channels or their staff.
- BASt in no way claims to be an authority on the use and maintenance of your equipment and work.
- You are and remain responsible for any action you take based on content on this page.
- Any liability regarding products linked to is expressly rejected.
